


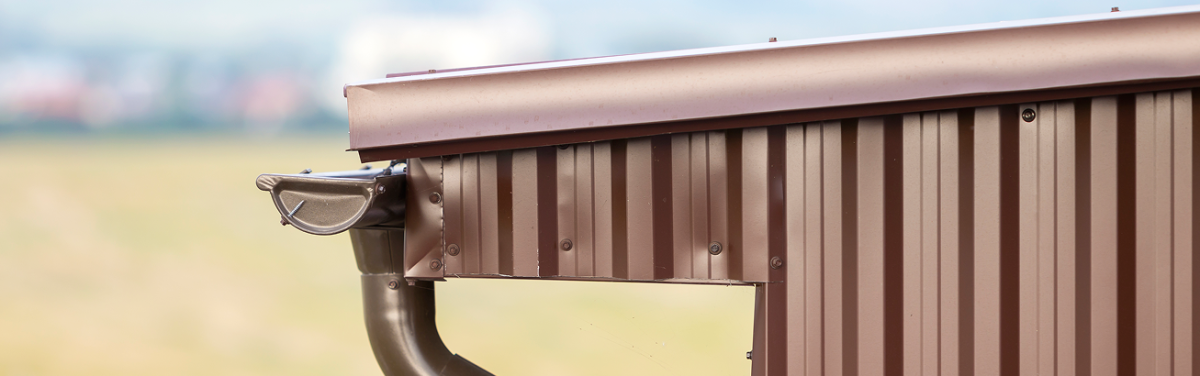
A well-functioning eavestrough system is one of those home features you never think about — until something goes wrong. And when it does, the consequences can be costly. Properly installing an eavestrough downspout protects your home from water damage that can quietly spiral out of control.
The downspout is the vertical pipe that channels rainwater from your eavestrough down to ground level. Without it working correctly, water pools right where you least want it: at the base of your foundation. The results? Foundation cracks that can run anywhere from $2,000 to $15,000 to repair, basement flooding, soil erosion around your home, and rotting wood in your siding.
There’s also a local regulation worth knowing. Since December 2013, Toronto’s Municipal Code Chapter 681 requires all downspouts to be disconnected from the city sewer system. During heavy rainstorms, overloaded sewers increase the risk of basement flooding and push polluted water into local waterways. Directing runoff onto your property instead helps ease that pressure — and keeps you on the right side of the law.
Tools, Materials, and Sizing
Before starting your downspout installation, gather the right tools and materials.
- Tools: tape measure, hacksaw or metal snips, drill or screwdriver, level, sturdy ladder, work gloves, and safety glasses.
- Materials: downspout sections, elbow connectors, wall brackets or straps, screws or rivets, waterproof sealant, and a splash block or downspout extension to move water away from the foundation.
When it comes to material choice, aluminum is the clear winner for Toronto homes. It doesn’t rust and holds up well through freeze-thaw cycles. Vinyl tends to crack in our winters, making it a poor choice for this climate.
Sizing matters too. Rectangular downspouts measuring 2″ by 3″ handle roofs up to 600 square feet, while 3″ by 4″ models cover up to 1,200 square feet. As a general rule, plan for one downspout every 20 to 40 feet of eavestrough. A typical 1,500 square foot home needs about four downspouts total, two on each side.
Measurements, Slope, and Thermal Expansion
Before buying materials, take two measurements: the distance from the gutter outlet to the wall beneath the eave, and the total drop from gutter to ground. These numbers determine exactly how much downspout, how many elbows, and how much sealant you’ll need — no guessing, no extra trips to the hardware store.
Your eavestrough also needs a slight slope toward the downspout. The standard is a quarter-inch drop for every ten feet of eavestrough length. Too flat, and water sits and stagnates. Too steep, and it rushes past the downspout opening.
Toronto’s climate adds one more variable most homeowners overlook: thermal expansion. Temperatures here swing roughly sixty degrees between seasons, and a thirty-foot section of eavestrough can shift by half an inch across that range. That movement stresses joints and sealant over time. To give sealant the best chance of bonding properly, plan your installation between 15°C and 30°C — late spring through early fall is ideal.
Step-by-Step Downspout Installation
- Cut the outlet hole in your eavestrough with tin snips, then insert and seal the outlet with gutter sealant.
- Mark your slope line on the fascia board — beginning three-quarters of an inch below the shingles and dropping a quarter-inch for every ten feet toward the downspout. Attach brackets every 18 to 24 inches along the eavestrough.
- For the downspout itself, use two elbows to create an S-curve that brings the pipe from the gutter outlet flush against your wall. When joining sections, slide the upper piece inside the lower one to prevent leaks. Secure each connection with at least two rivets or screws.
- Mount the downspout to your wall using straps every three feet, keeping no more than eight feet between brackets to reduce wind damage risk.
- At the bottom, attach an elbow and extension that carries water at least four to six feet from your foundation — eight to ten feet is better. Finish with a splash block to prevent erosion, then run a hose through the system and check every joint for leaks.
Is your eavestrough system ready to handle Toronto’s next downpour?
A properly installed and maintained eavestrough is your home’s first line of defence against foundation damage, basement flooding, and costly water-related repairs. That’s where Branova Siding comes in. With over 20 years of experience serving homeowners across Toronto and the GTA, their team offers expert eavestrough repair and installation in Toronto — from fixing leaks and sagging gutters to full downspout replacements. Don’t wait for a small issue to become a major expense. Contact Branova Siding today for a free, no-obligation quote.


